
Chained Beasts Solo Mode & Co-op Chain Formations Walkthrough
Solo vs co-op chain setups in Chained Beasts—iron-ball anchors, pillar trips, 2–4 player formations, round revival, and Night camp SWAP—illustrated walkthrough.
FAQ
Does Chained Beasts have a solo mode?
How does the chain work in solo compared with co-op?
What happens if some players die but one gladiator survives?
What is the Night camp SWAP button for?
Which Beast and difficulty appear in the solo prep screenshots?
How does solo mode differ from co-op chain formations?
Steam confirms solo and 1–4 player co-op on the same roguelike runs. Official store copy and achievements focus on physical chains between gladiators—Trip Master, Pop!, and Formation Breaker—and warn that bad spacing leaves you wrapped around pillars. Featherweight does not spell out solo tether rules in store text; the frames below come from community video walkthroughs (The Scarlet Seeker, The Singleplayer Squad, Game Launch Central) cross-checked against official pillar and chain language.
Start with the beginner guide for day/night pacing, then pair this page with controls and chain combat for swings, blocks, and lassos. Online party sizes and couch co-op are on the co-op multiplayer guide.
Illustrated solo and co-op chain walkthrough
Six timestamped frames from community videos show solo prep, co-op whirlwind swings, pillar routing, contract objectives, a Beastmaster Barca flank, and a late-round chain brawl—use them as a visual checklist before your next run.
-
1 Pick a Beast variant and Pleb tier before the gates open
03:00 ↗The pre-fight screen shows P1 selecting the Ferocious Wolf beast variant with the on-card line “More dismemberment. Deal +100% damage with enemy body parts.” and the Pleb challenge tier (“A perfect challenge for the common people”) in front of iron portcullis gates. Solo players still choose the same Beast and difficulty ladder as co-op groups—compare variants on the all-beasts page before you commit.
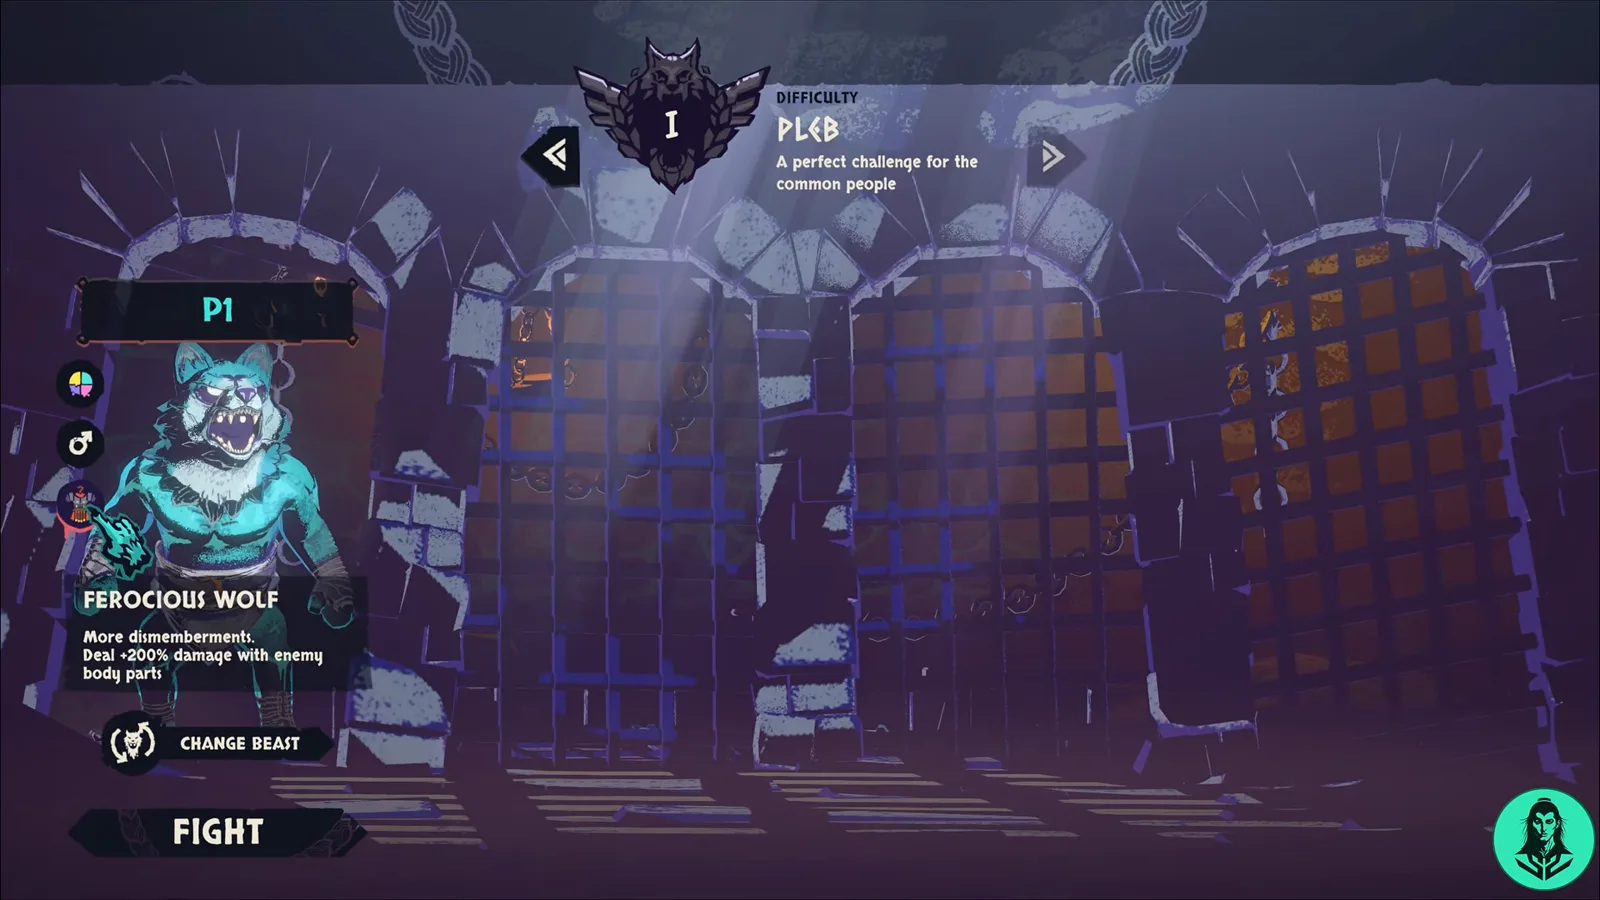
Solo prep: Wolf variant on Pleb -
2 Use wide circular chain swings in co-op whirlwind fights
01:00 ↗A gladiator executes a wide circular whirlwind chain swing with a white motion arc and blood spray in the sandy arena while ability icons glow at the bottom HUD. Four-player rings keep tension on every link—voice-call when someone starts a spin so partners do not snap the chain into a pillar.
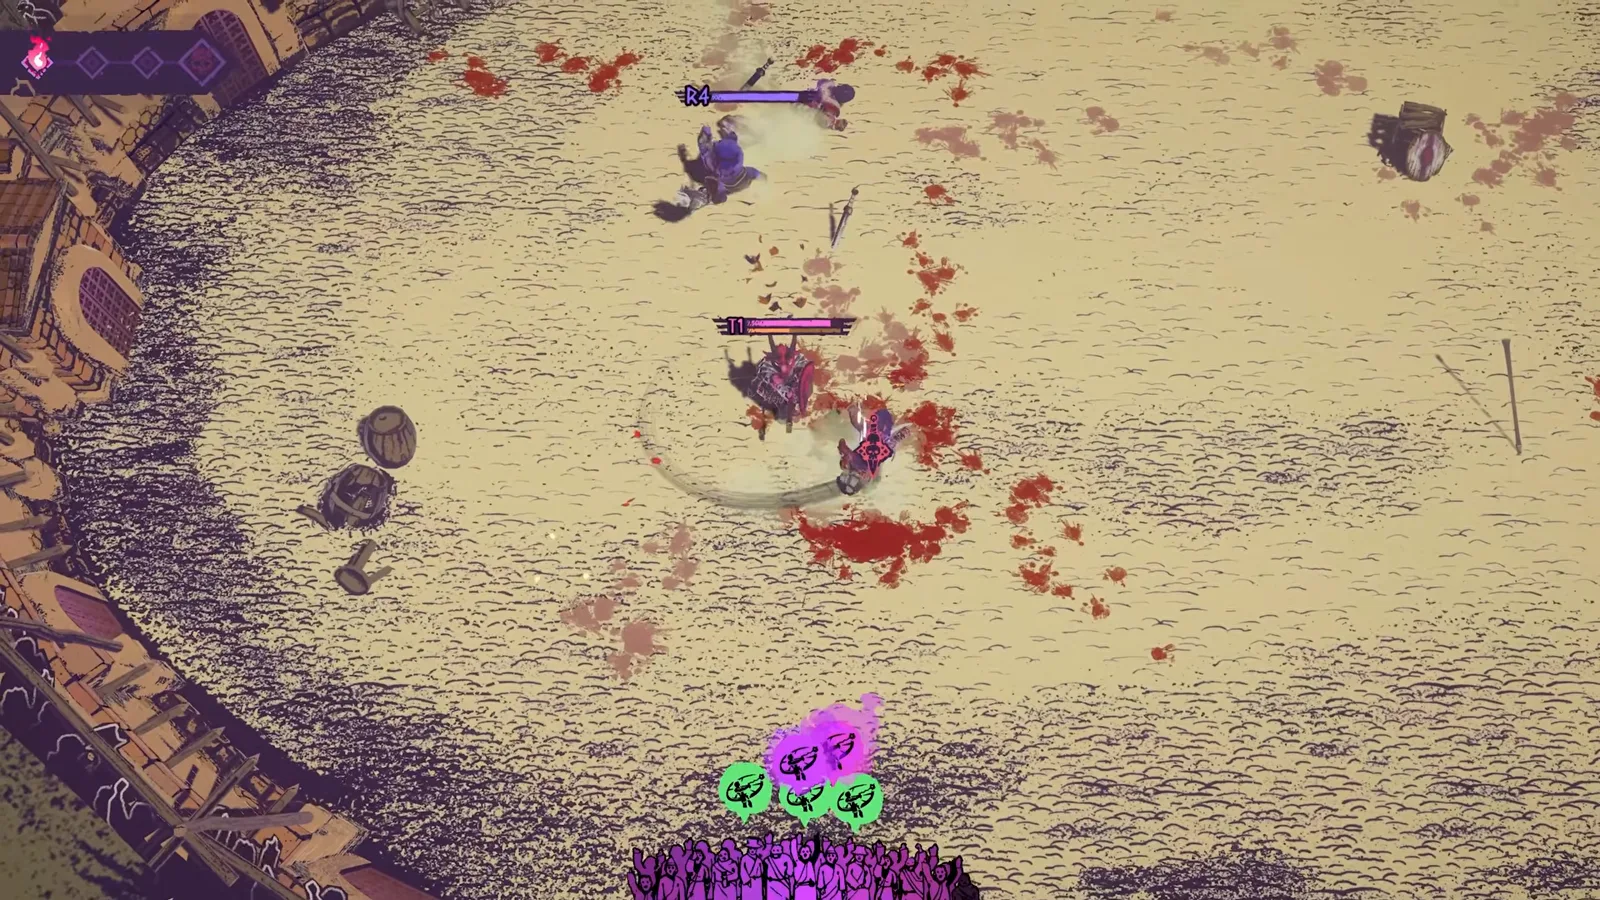
Co-op ring swing -
3 Route solo chains between pillars to keep lines clean
01:00 ↗A wolf-mask gladiator navigates between square stone pillars in a sand arena littered with broken shields, arrows, and blood splatters to maintain clean chain lines. Solo mode replaces human tug-of-war with anchor physics—treat pillars as steering wheels, not snares, matching official advice to avoid getting wrapped.
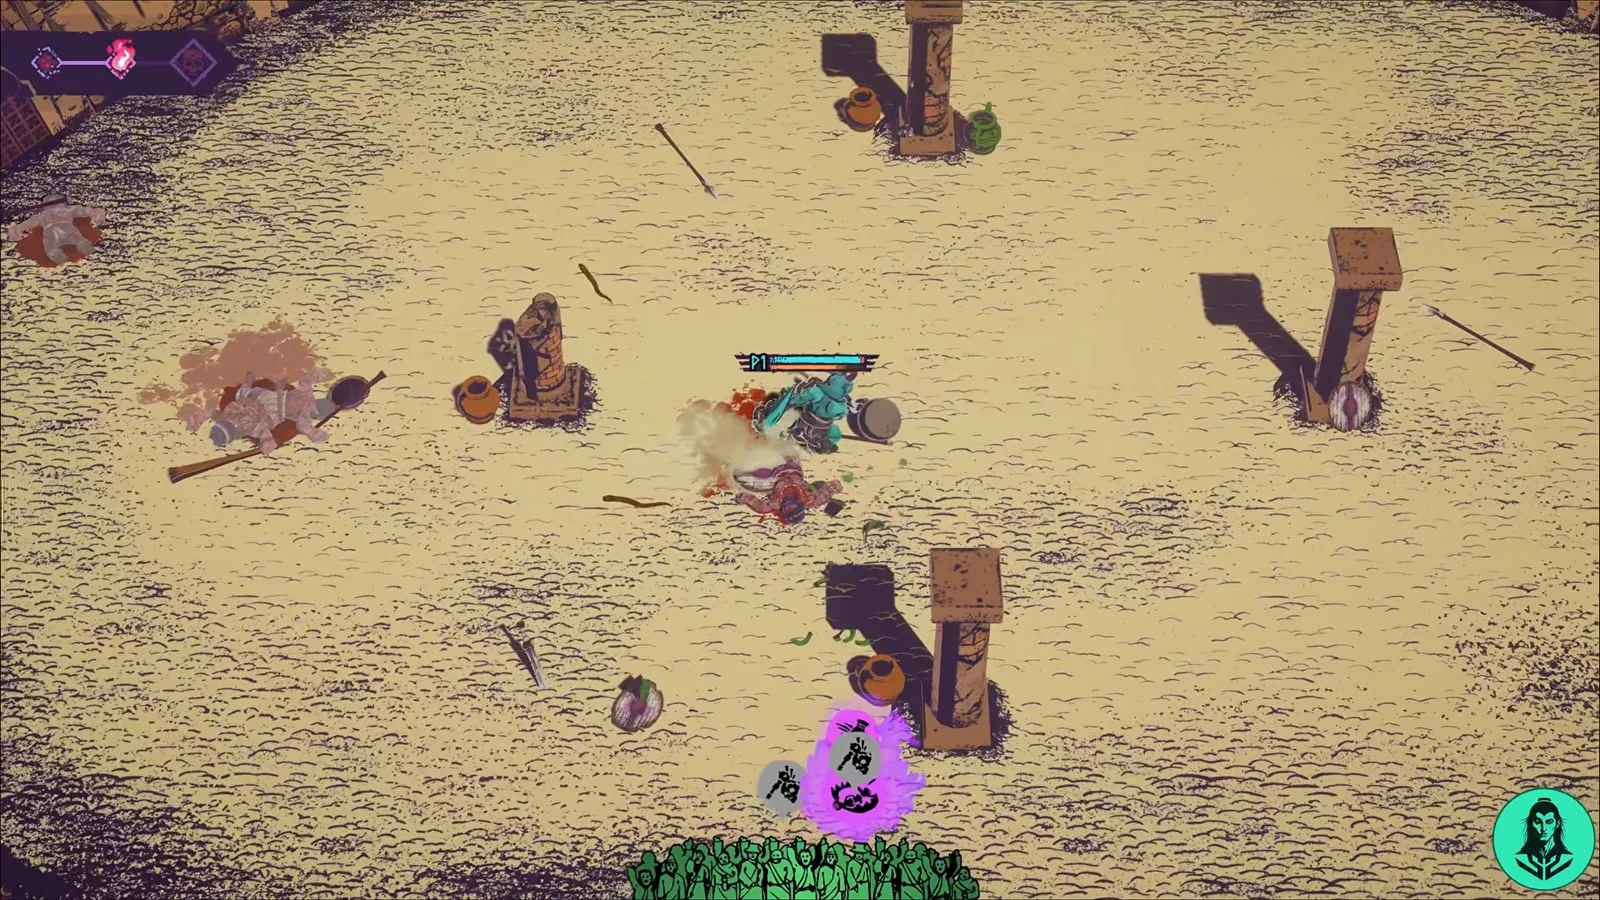
Solo pillar routing -
4 Wrap pillars to trip enemies while chasing contract kills
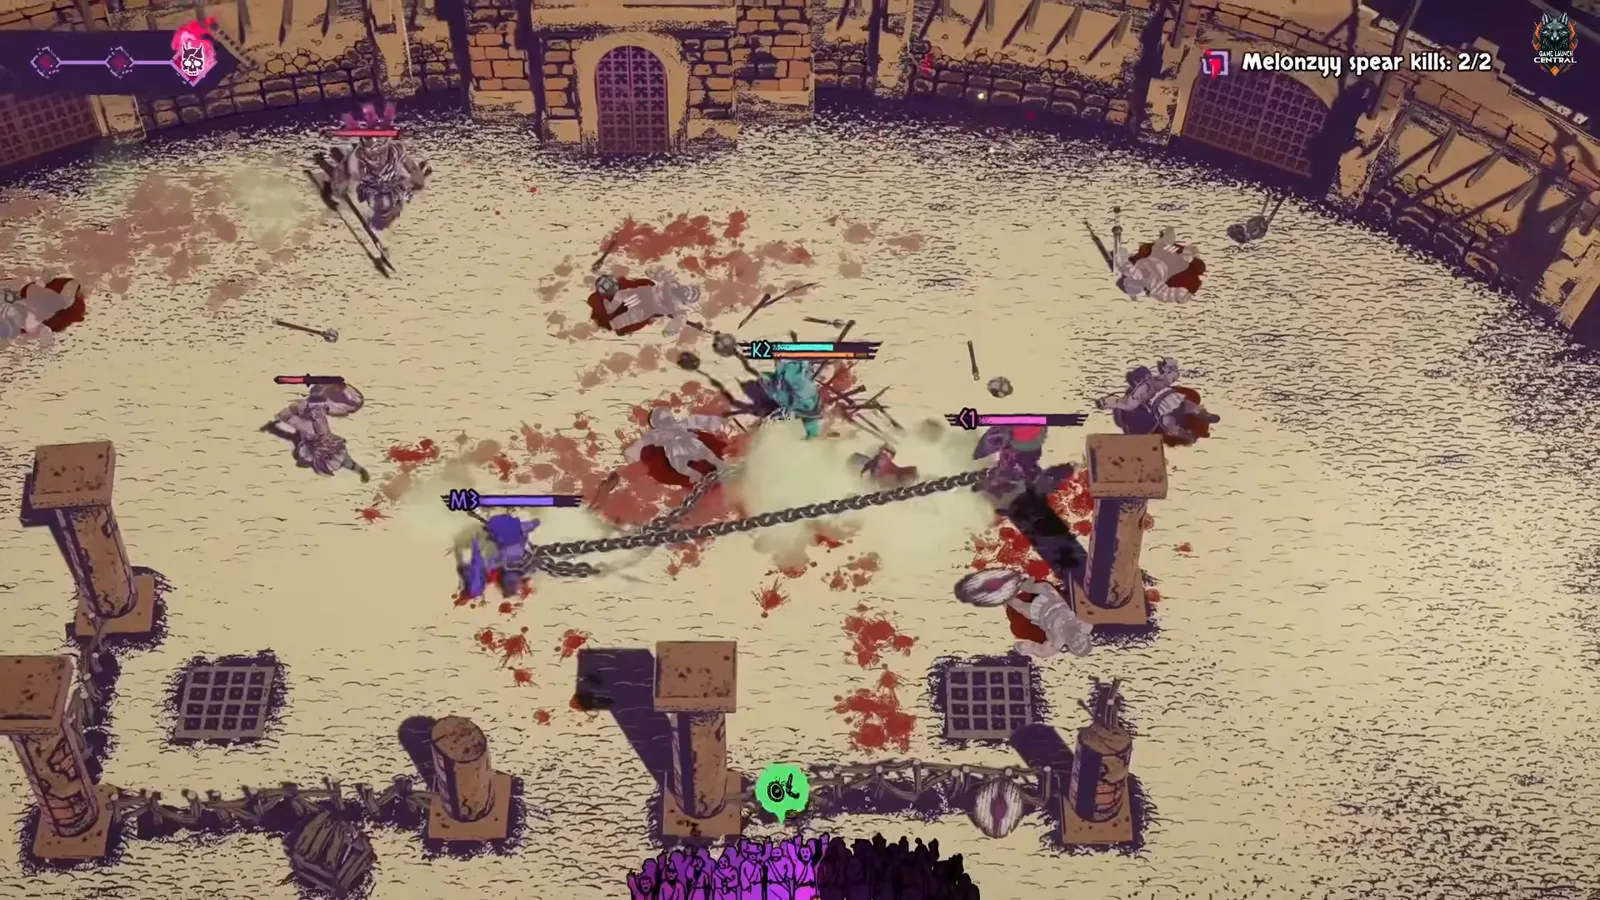
13:30 ↗Two chained gladiators wrap their long iron chain around multiple stone pillars to corral and trip enemies while the top-right UI tracks “Militia spear kill 2/2.” Pillar wraps turn crowd control into objective progress—pair this tactic with the controls guide’s lasso and drag notes.
Pillar wrap + contract -
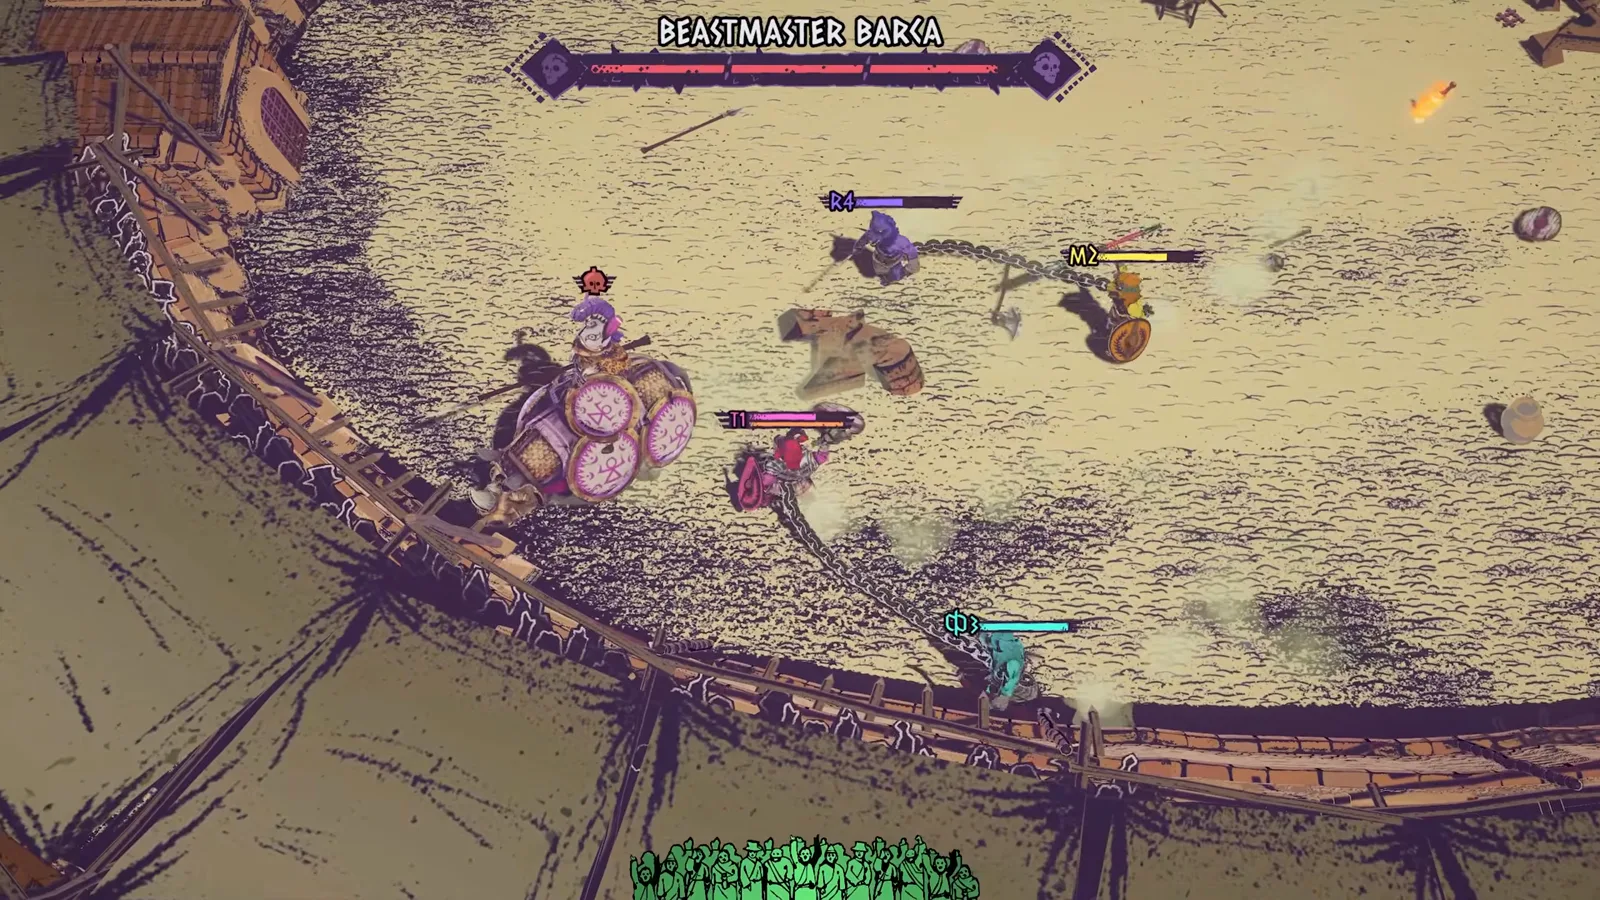
5 Spread the chain to flank Beastmaster Barca on his rhino
02:00 ↗The boss fight shows Beastmaster Barca riding a pink-hued rhino in a blood-stained sand arena with the boss health bar at the top while chained gladiators spread out to flank. Act 1 spacing lessons apply here—read the dedicated Barca page for achievement hooks like Stampede without inventing HP numbers.
Barca chain flank -
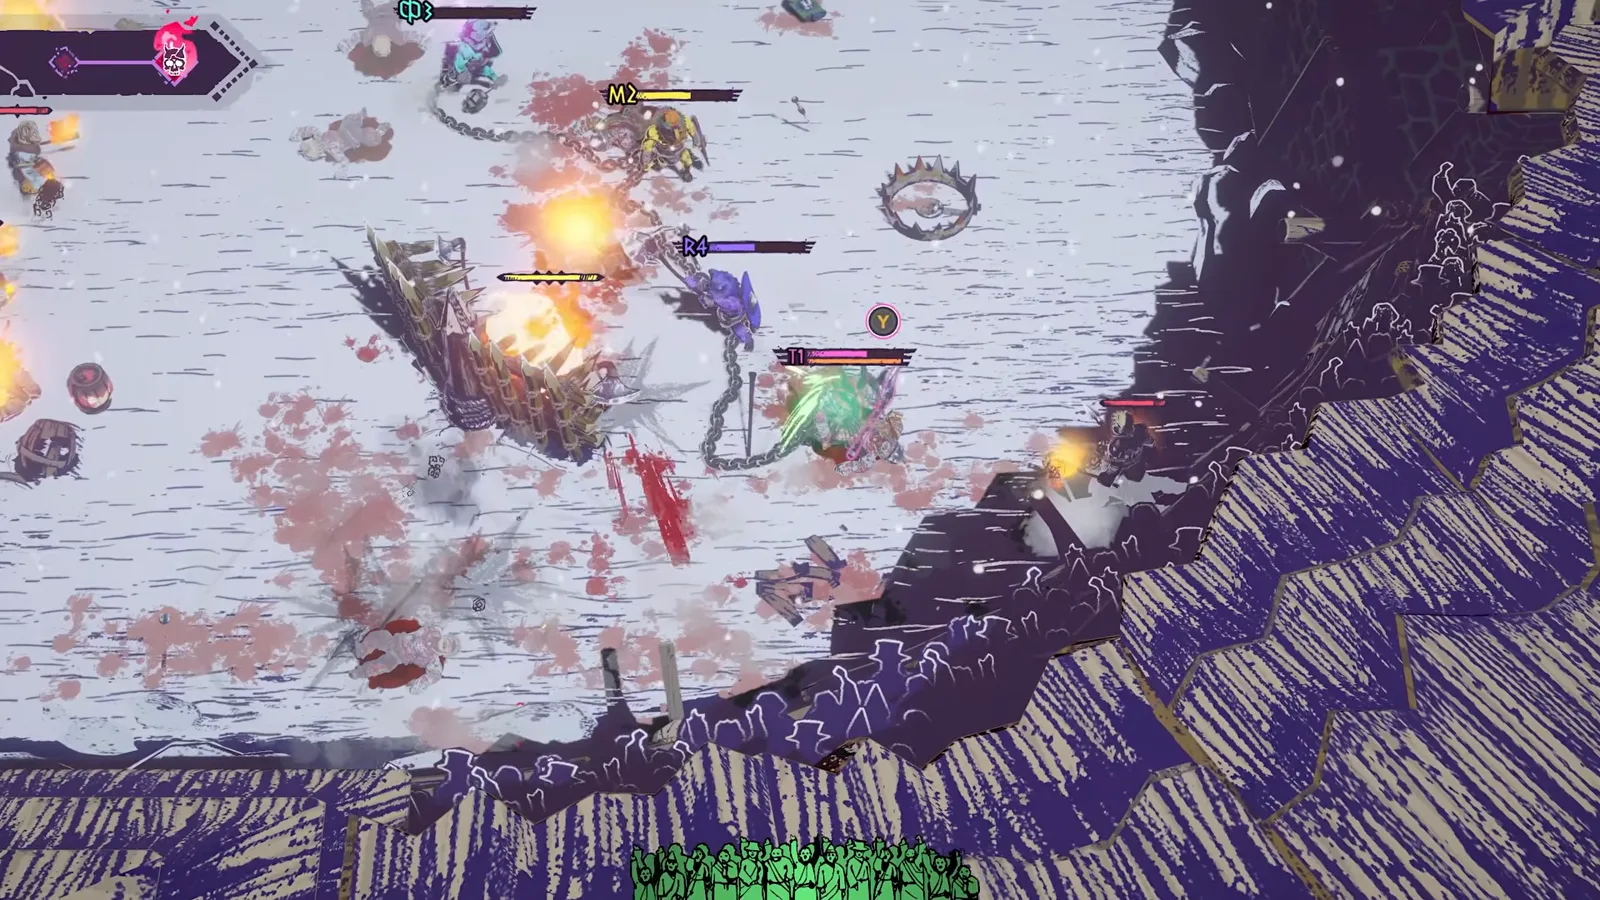
6 Fight near walls, fire, and bear traps in late-round brawls
04:30 ↗A multi-gladiator chain brawl rages near the jagged arena wall amidst fire explosions and a circular metal bear trap on the sand floor. Late formations mix hazards with chain tension—assign one player to call trap locations while others hold the line.
Wall fight and trap
What chain layouts do two, three, and four players use?
Community overview videos (including The Scarlet Seeker’s co-op segment) describe configurable chain setups at run start or camp—not fixed by Steam text, but consistent across multiple uploaders:
| Players | Layout described in walkthroughs | Practical note |
|---|---|---|
| 2 | Two paired duos (two separate chains) or a single two-link chain | Good intro to tug-of-war without four voices |
| 3 | Three gladiators on one chain plus one untethered roamer | Roamer grabs objectives while the trio controls space |
| 3–4 | Entire squad chained to one heavy spiked iron ball | Slowest but strongest whip swings—see solo iron-ball frame above |
| 4 | Linear four-player chain (P1–P4 in a row) | Maximum reach; highest pillar-wrap risk |
Official Steam screenshots still show P1–P4 color bars in four-player camps and fights; treat seat colors as UI markers, not fixed character colors (see game facts on screenshot variance).
How does solo chain physics replace a partner?
Walkthroughs from The Singleplayer Squad emphasize that solo mode anchors the chain to swinging weights or arena tether points instead of another human. You can:
- Swing tethered spiked iron balls through enemy clusters (solo iron-ball frame).
- Drag chain links around stone pillars to trip or corral foes—same pillar language as official store tips.
- Kite between pillars and bear traps without negotiating partner input—higher skill ceiling, matching reviewer notes that solo can feel tougher than co-op chaos.
For input timing and heavy swings, continue to controls and chain combat.
What are the round survival and revival rules?
Video narrators agree on a squad survival rule that Featherweight has not published in store bullet points:
- If at least one gladiator is standing when the round ends, the entire party advances to Night camp, even when others were downed mid-fight.
- Downed players arrive at camp on 1 HP and must use the Healer screen—affliction potions with heart costs versus Water (“Must have 20 or more health” in official trailer text)—before the next arena day.
Official trailer frames show Healer on NIGHT IV with four HP bars including 0/97—use those screenshots for potion names, not invented formulas. Deeper affliction stacking lives on afflictions and Trainer.
How do Night camp card pools and SWAP work?
Advanced tips videos show Night camp presenting a shared skill or loadout pool for the next battle (N+1) with a visible SWAP button so players can exchange picks before DAY breaks. That matches official CHOOSE YOUR SKILL nights in Steam art, extended with a coordination layer walkthrough creators highlight for four-player lobbies.
Pair SWAP planning with difficulty levels when you raise tiers above Pleb, and review Beastmaster Barca before Act 1 boss nights if your chain ring still wraps pillars.
Which videos cover solo and co-op chains?

Chained Beasts | Worth Your Time and Money (Overview)
CHAINED BEASTS But I Don't Waste Your Time
These uploads supplement—not replace—Featherweight’s Gameplay Trailer and Steam screenshots cited on the beginner guide. Pick Ferocious Wolf or any Beast from all beasts once you understand the formation basics above.
Verified: 2026-10-17. Solo tether layouts, SWAP timing, and “1 HP revive if one survivor” rules are attributed to community video walkthroughs; store achievements confirm chain trips and pillar wraps without solo detail. We did not invent Boss HP, Beast DPS, or Trainer level rewards.
Related Articles
guides
Chained Beasts Controls & Chain Combat Guide: Throw, Block & Lasso
Gamepad controls, chain trips, throws, blocks, and stamina in Chained Beasts—tutorial layout plus six walkthrough frames. Release build may differ.
guides
Chained Beasts Review: Is It Worth Buying in 2026?
Launch-week Chained Beasts review: Steam Very Positive at 97%, co-op vs solo, press notes, $19.99 sale and Game Pass—who should buy now vs wait.
beasts
Chained Beasts: All 8 Beasts and Variants (Verified List)
All eight Chained Beasts from Steam achievements and XP variants: names and unlock notes only, with no undisclosed stats, passives, or tier rankings.
Was this helpful?
Thanks for the feedback!